

It seems like forever ago I decided to try hammock camping even though I’ve only been camping this way regularly since 2017. The Christmas before I’d told family a full ENO Hammock system was the only gift I wanted. My wish was granted and my love for hammocking was sealed. Since then I’ve hammocked almost exclusively. From overnight camping trips to backpacking Isle Royale. I have been learning and adjusting my set up with minor changes, adding a few additional items here and there.
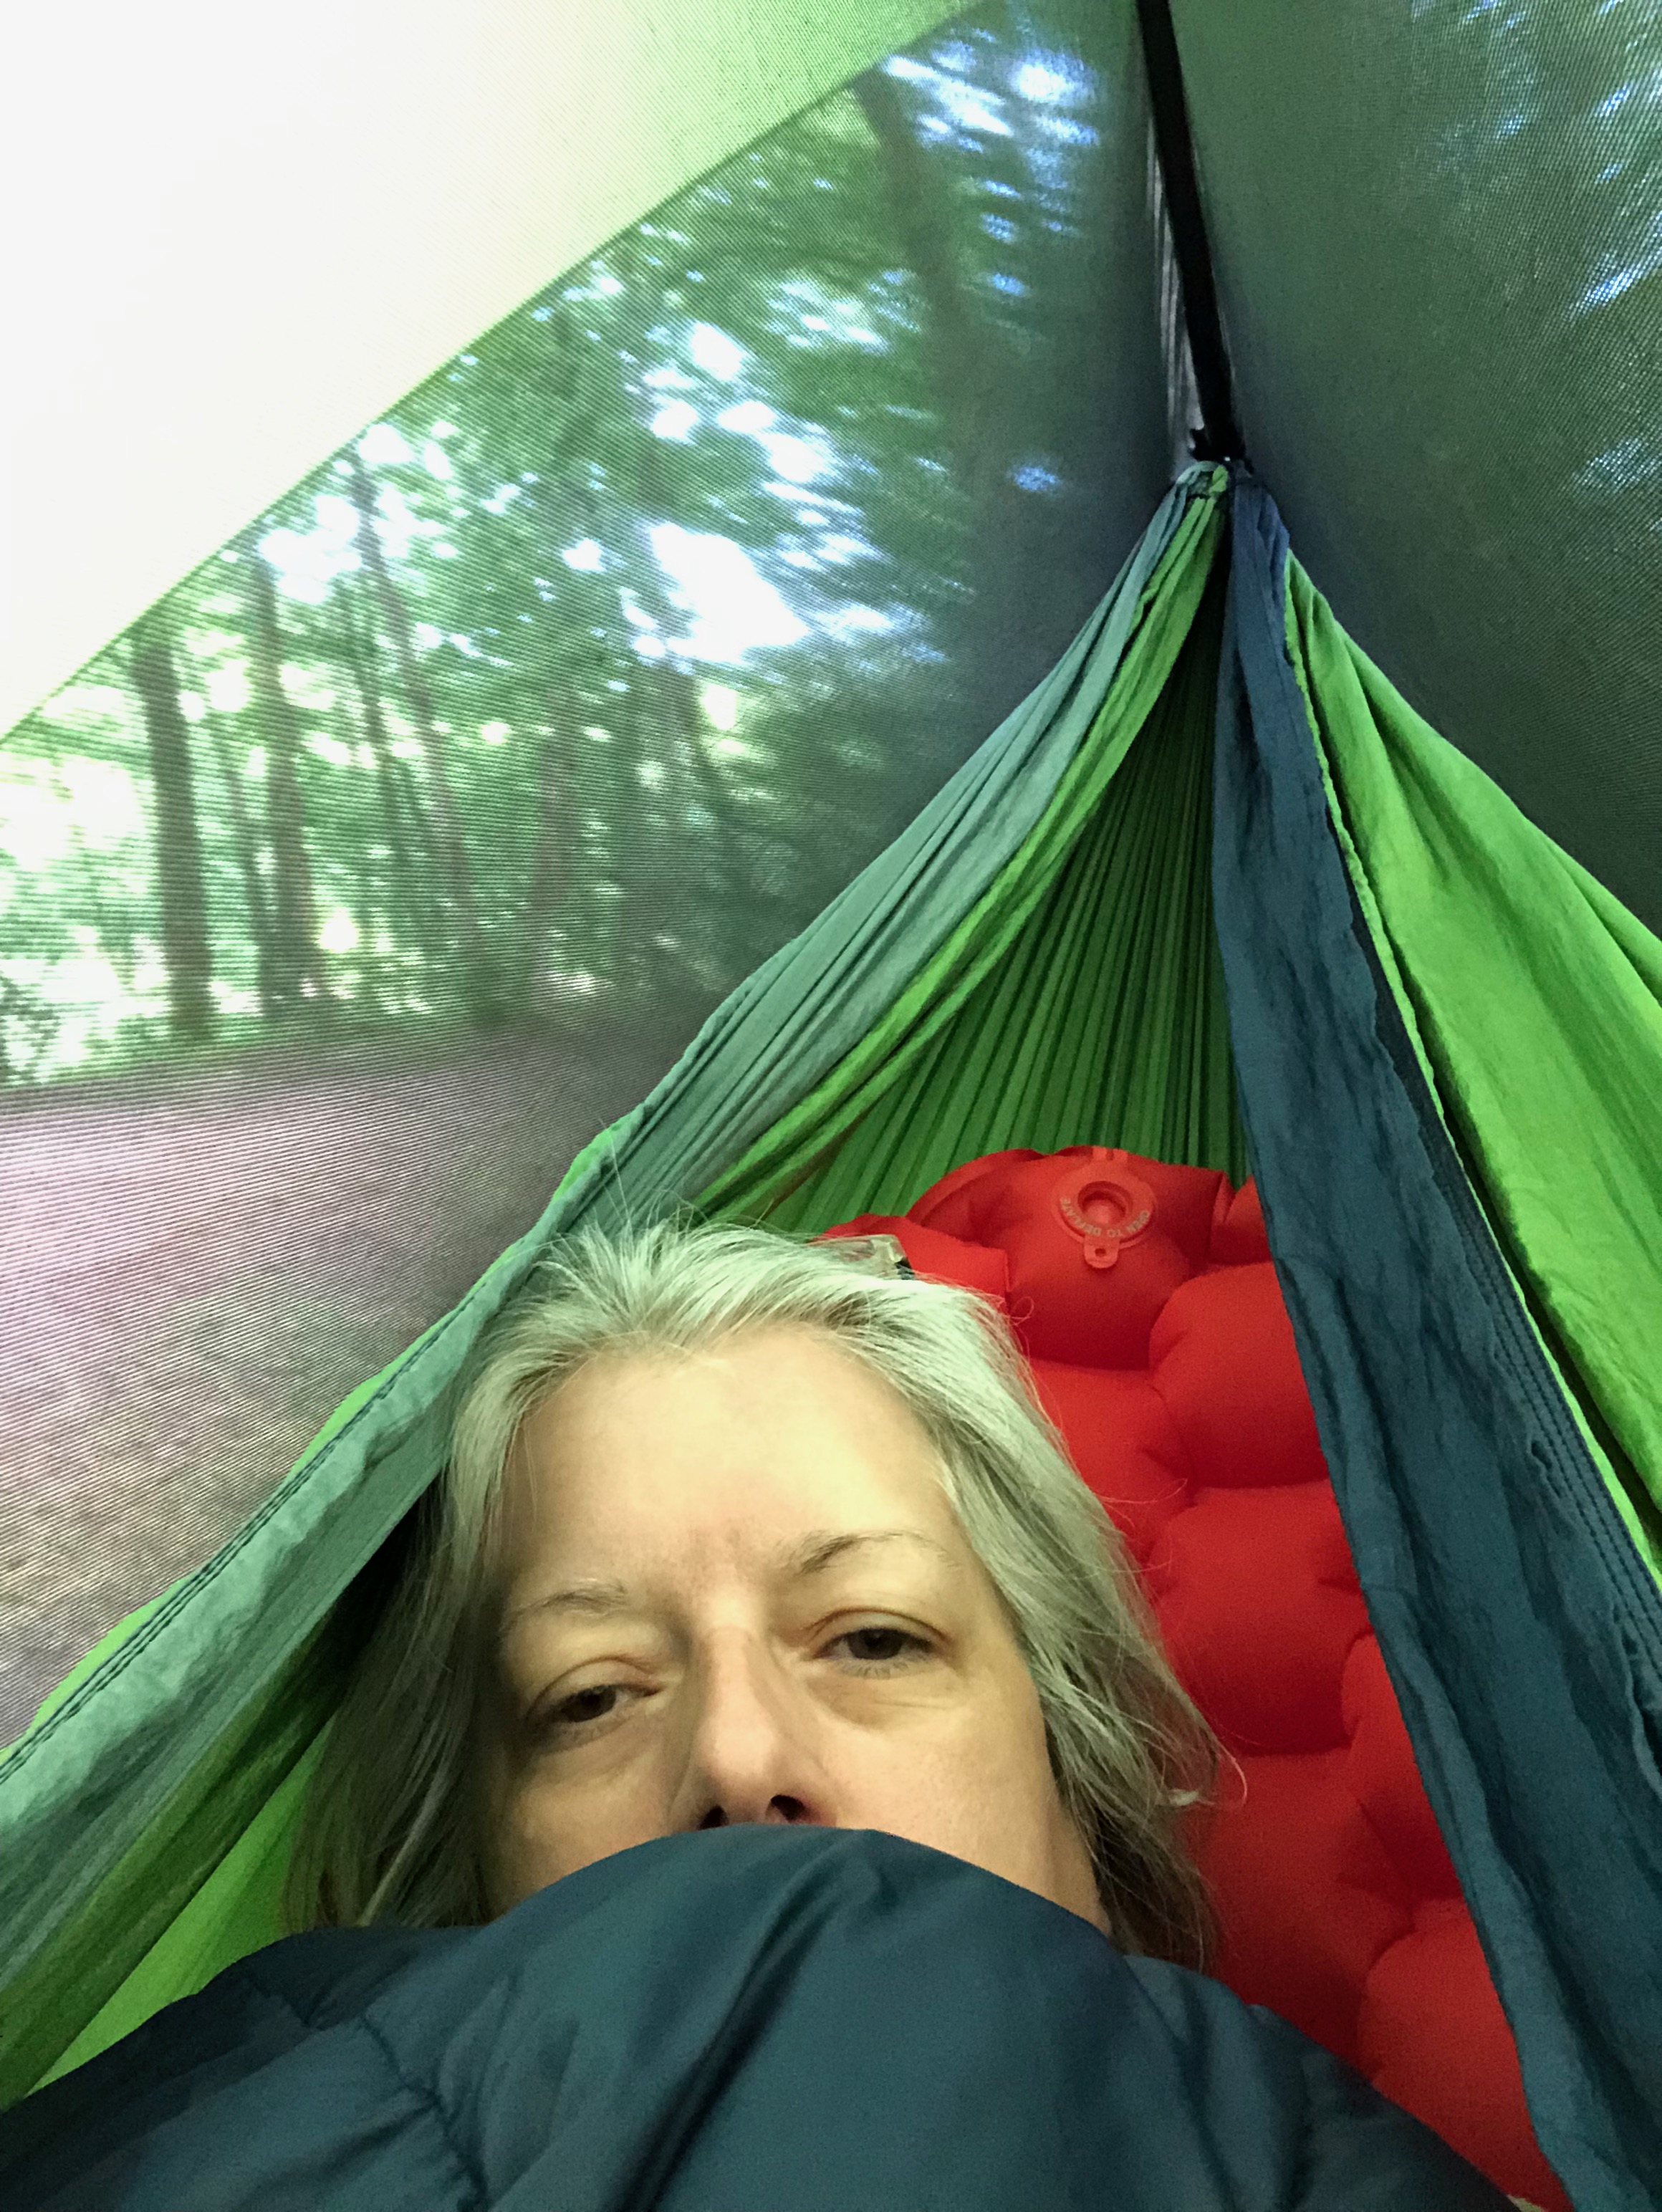
Why a hammock? The wonder of hanging in a fabric cradle is so special. All it takes is for a breeze to kick up and you are gently swaying back and forth. The set up and take down is quick. With a tarp overhead to keep off the rain I’ve stayed dry in some pretty torrential downpours. My bug net keeps me from being bitten by Minnesota’s ever-present mosquitos. The recent addition of an under-quilt means I have been able to forgo the use of a sleeping pad except on the coldest of nights. Nights in my hammock keep my feet elevated a bit after a long day of hiking so my legs don’t ache as I fall asleep. Its my happy place when I’m out camping or backpacking. Most of all I love drifting off to sleep with a view of the sunset or waking up with a view of the sun rising across water or through the trees.
I especially appreciate how hammock camping can be a great way to reduce your impact in the outdoors if done correctly. A good resource for Leave No Trace Principles that apply to hammock camping can be found on the LNT.org website. Visit Hammock-Camping.pdf (lnt.org) for more details on best practices.


Middle (L to R): Atlas™ XL Straps, Guardian™ Bug Net
Bottom: Ember™ Underquilt
So what do you need? Let me breakdown the components, including what changes I’ve made for you. The overall weight of my system is exactly six pounds for everything. A piece-by-piece breakdown of what I use starts with the hammock itself.
DOUBLENEST® HAMMOCK


The hammock I use is the ENO DoubleNest®. It can be shared or offers a luxurious amount of space for going solo. Sleeping full length or across the width are both options. The hammock has built in carabiner on either end for suspension and it has a handy attached carrying pouch if you just want to take the hammock for an afternoon jaunt. Could I use a SingleNest? Sure, but why when you can have more space and only a few more ounces of weight.
The ENO hammocks come in an amazing variety of colors too. There is something for everyone. Each year they offer limited edition colors or patterns that support various organizations. If you need to lighten your load a bit there are ultralight options, but most won’t save you more than a few ounces. To reduce the weight, a person could remove the attached compression bag, but I like using it for sundries like my headlamp and glasses when I am ready to get some sleep.
The hammock packs into a small bundle in its own attached bag and has an attached strap to compress it. Unpacked it has two light weight carabiners for attaching to the straps. All of the components make it easy to set up and take down. I love that I can use it on its own to relax in the backyard or at a local park too.
TECH SPECS:
Brand: ENO (Eagles Nest Outfitters)
Model: DoubleNest® Hammock
Retailer Where Purchased: Amazon
Specs:
Weight: 1 pound, 3 ounces
Unfolded Dimensions (L x W): 112 x 74 inches
Folded Dimensions: 4 x 5 inches
Warrantee: Two years from date of purchase for manufacturing defects through ENO.


ATLAS™ XL SUSPENSION SYSTEM
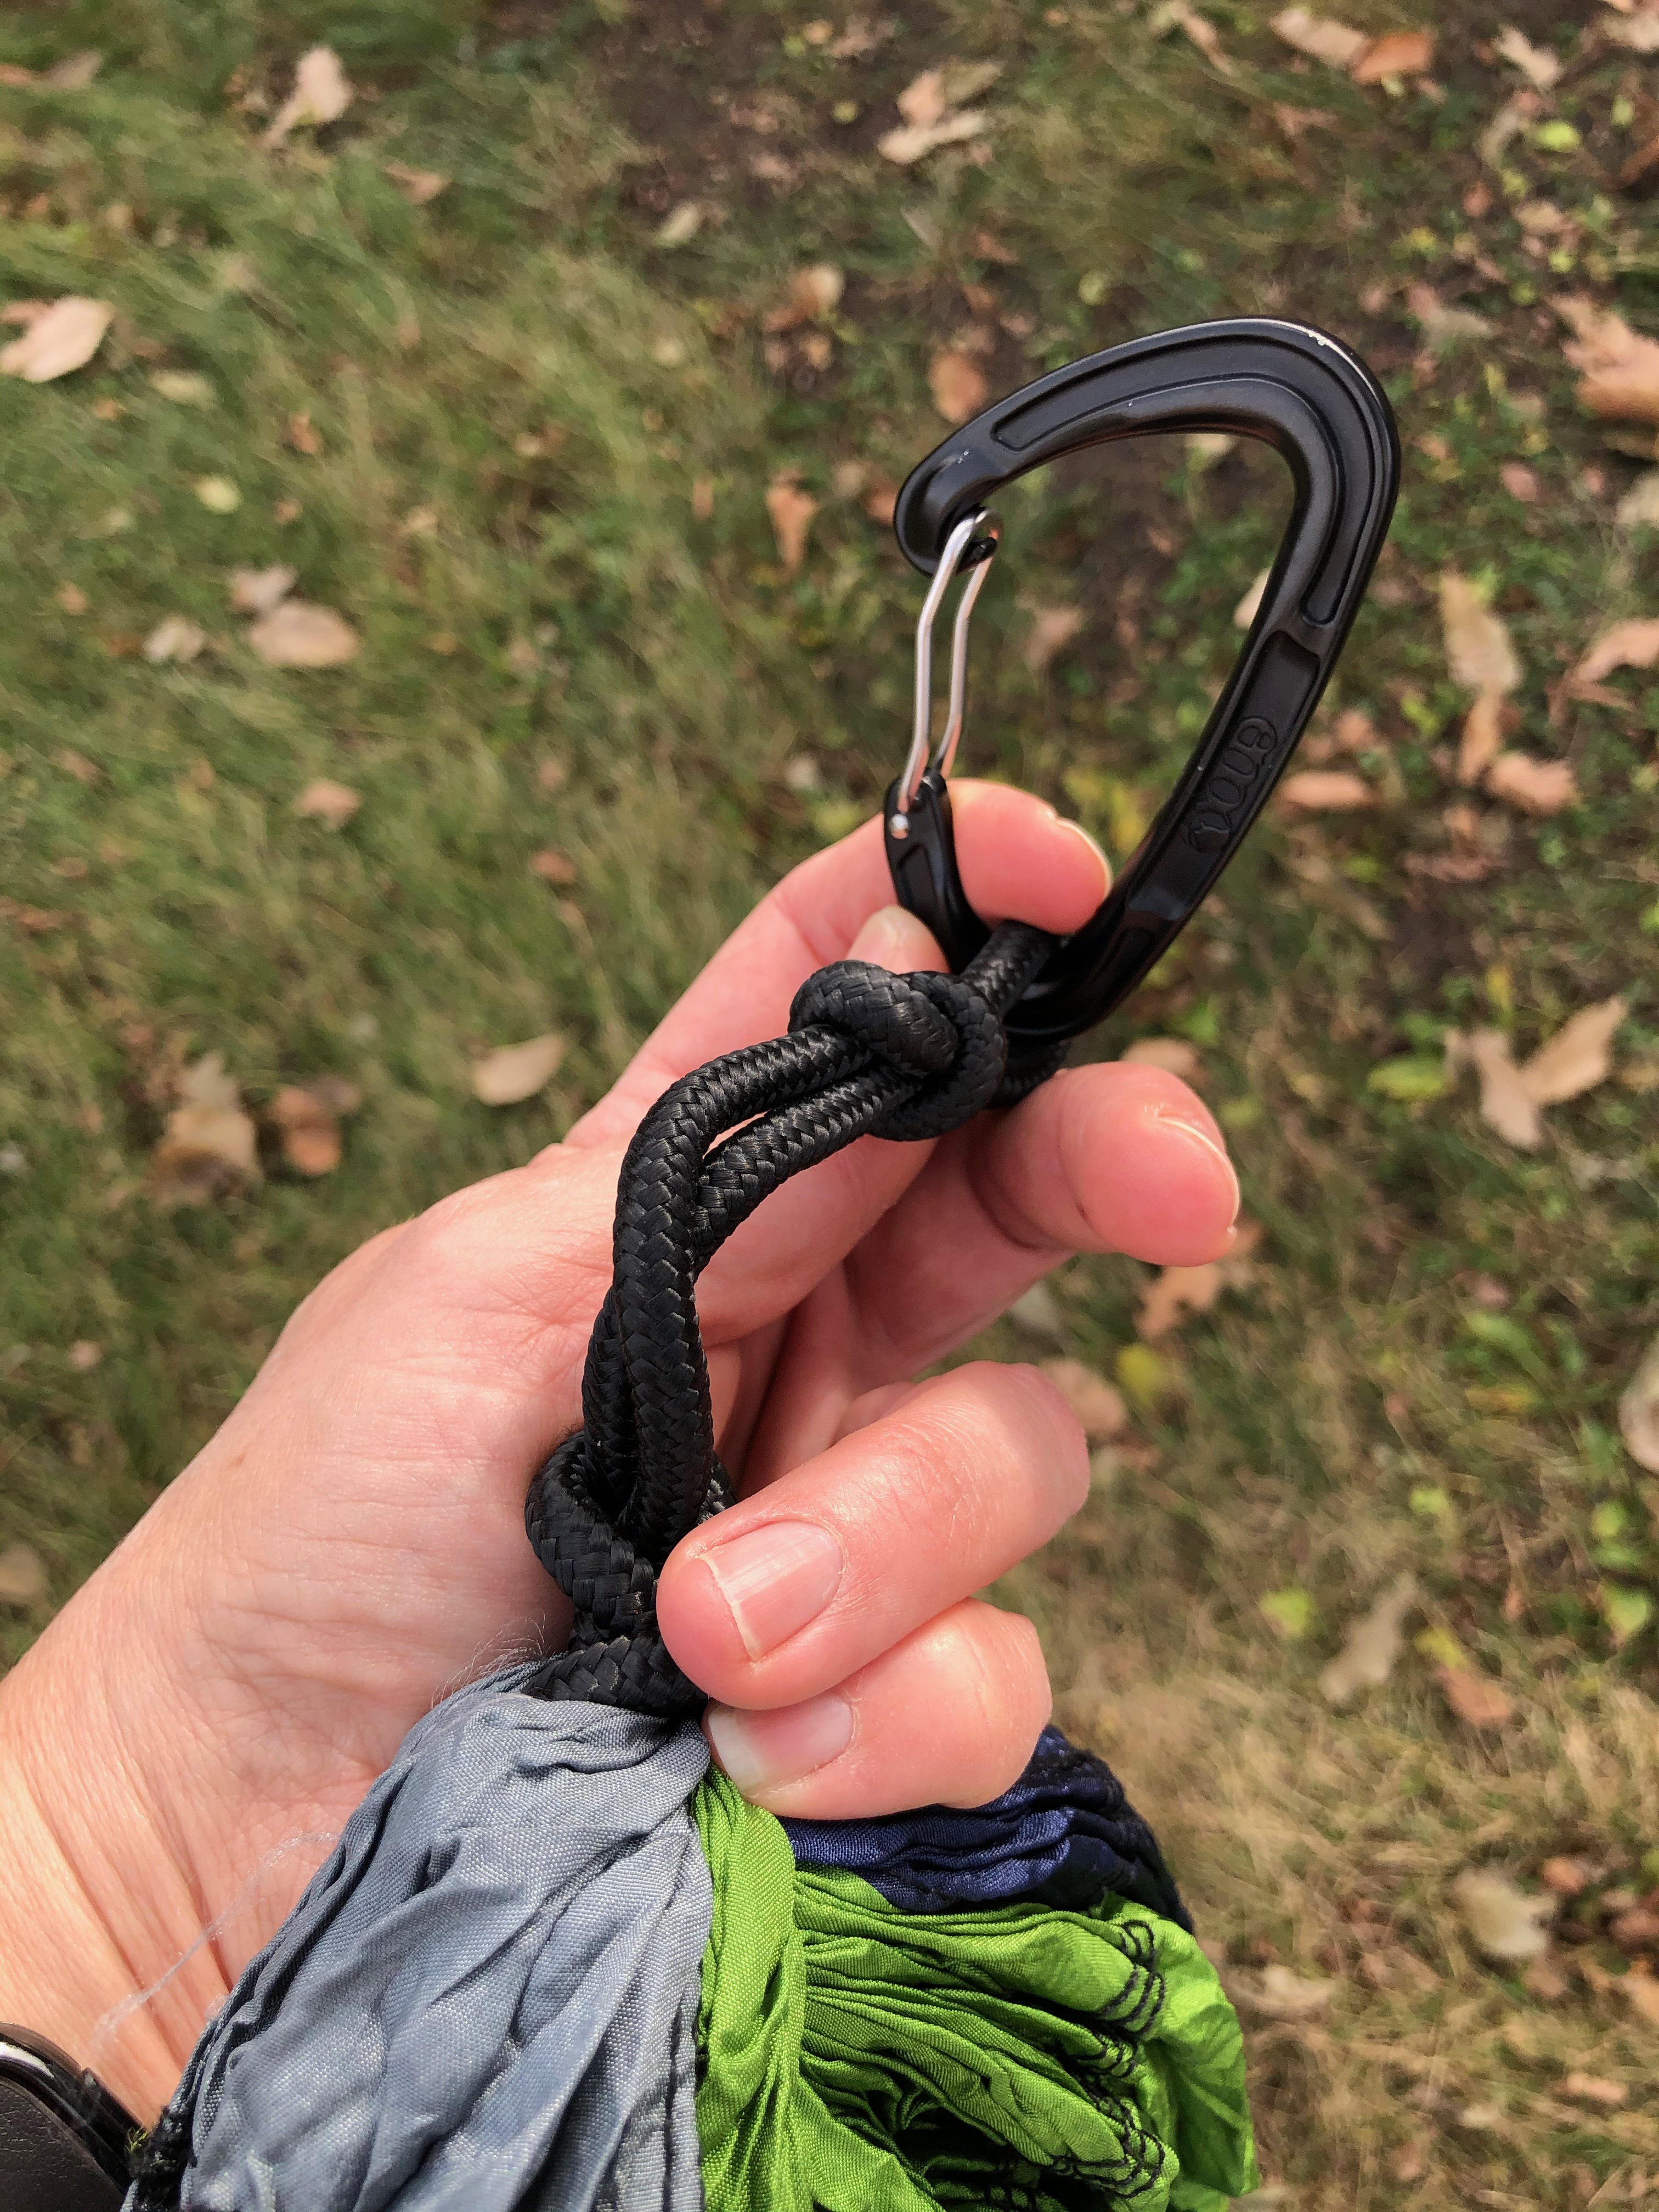
My first set of straps was the Atlas™ Suspension System but as I’ve been out camping and even doing a bit of hanging at home, I determined at 9′ the straps weren’t long enough for my needs. I’ve since gotten the XL which comes in at just over 13′, giving me plenty of options of where I can set up.
Not only do you need to determine the diameter of the trees from which you will hang, but consider how far trees might be from one another. Or if there will be trees at all. The suspension straps can be anchored around any number of unmovable points. I’ve used my car’s roof rack rails as one side of the suspension system when only one tree of the correct size was available at a drive-in site. I haven’t tried it yet, but large rocks can also be used in some cases. Take a minute to consider your suspension point to be sure it can truly support your wight and the inevitable bounce that happens getting in and out.
ENO offers other choices of straps so if you want to bring your weight down this is your best place to shave some ounces. The Helios™ XL Ultralight Suspension System would be the equivalent length to the Atlas and is just 6.3 ounces. I prefer the Atlas to be sure no matter what tree I’m using I’m less likely to cause girdling since the width of the strap is consistent along the entire length.

In the image to the left there are two sticks that can be seen against the tree and under the strap. The sticks were placed parallel to the tree approximately six inches apart. This process was repeated around the entire circumference of the tree to relieve the pressure of the straps on the tree bark. This should decrease the chances of tree girdling.
A note about girdling. Girdling is when the bark of a tree is removed around its circumference, resulting in the tree losing its ability to move nutrients from the soil to the canopy. There a number of ways to help prevent this. First is in selecting your tree, looking for evidence of previous damage or use. Adjusting the placement of your straps or picking a different tree entirely can help. I also make a practice of placing small sticks parallel to the tree trunk and under the strap around the entire tree to create a space between the tree and strap. Another consideration is using one tree for multiple hammocks. Whether stacked or adjacent the use of one tree for multiple straps increases the chances of girdling. Finally, respecting weight limits of the hammock itself.
TECH SPECS:
Brand: ENO (Eagles Nest Outfitters)
Model: Atlas™ XL Suspension System
Retailer Where Purchased: REI
Specs:
Weight: 9 ounces
Webbing Dimensions: 9’ x 1.5/.75”
Packed Dimensions: 3.5″ x 5.5″
Capacity: 400lbs
Warrantee: Two years from date of purchase for manufacturing defects through ENO.


PROFLY™ RAIN TARP
One of the challenges of hammocking compared to a tent is privacy and protection from weather. There have been many nights where I’d hoped to forgo my rainfly to enjoy the stars. Or times when I wanted to change clothes in a campground without hoofing it to the restrooms. Having a rainfly offers both, though the aforementioned privacy is relative. The primary need for a rainfly on any sleep system is to protect from inclement weather. It also offers a bit of top insulation to hold in your body heat on a cold evening.
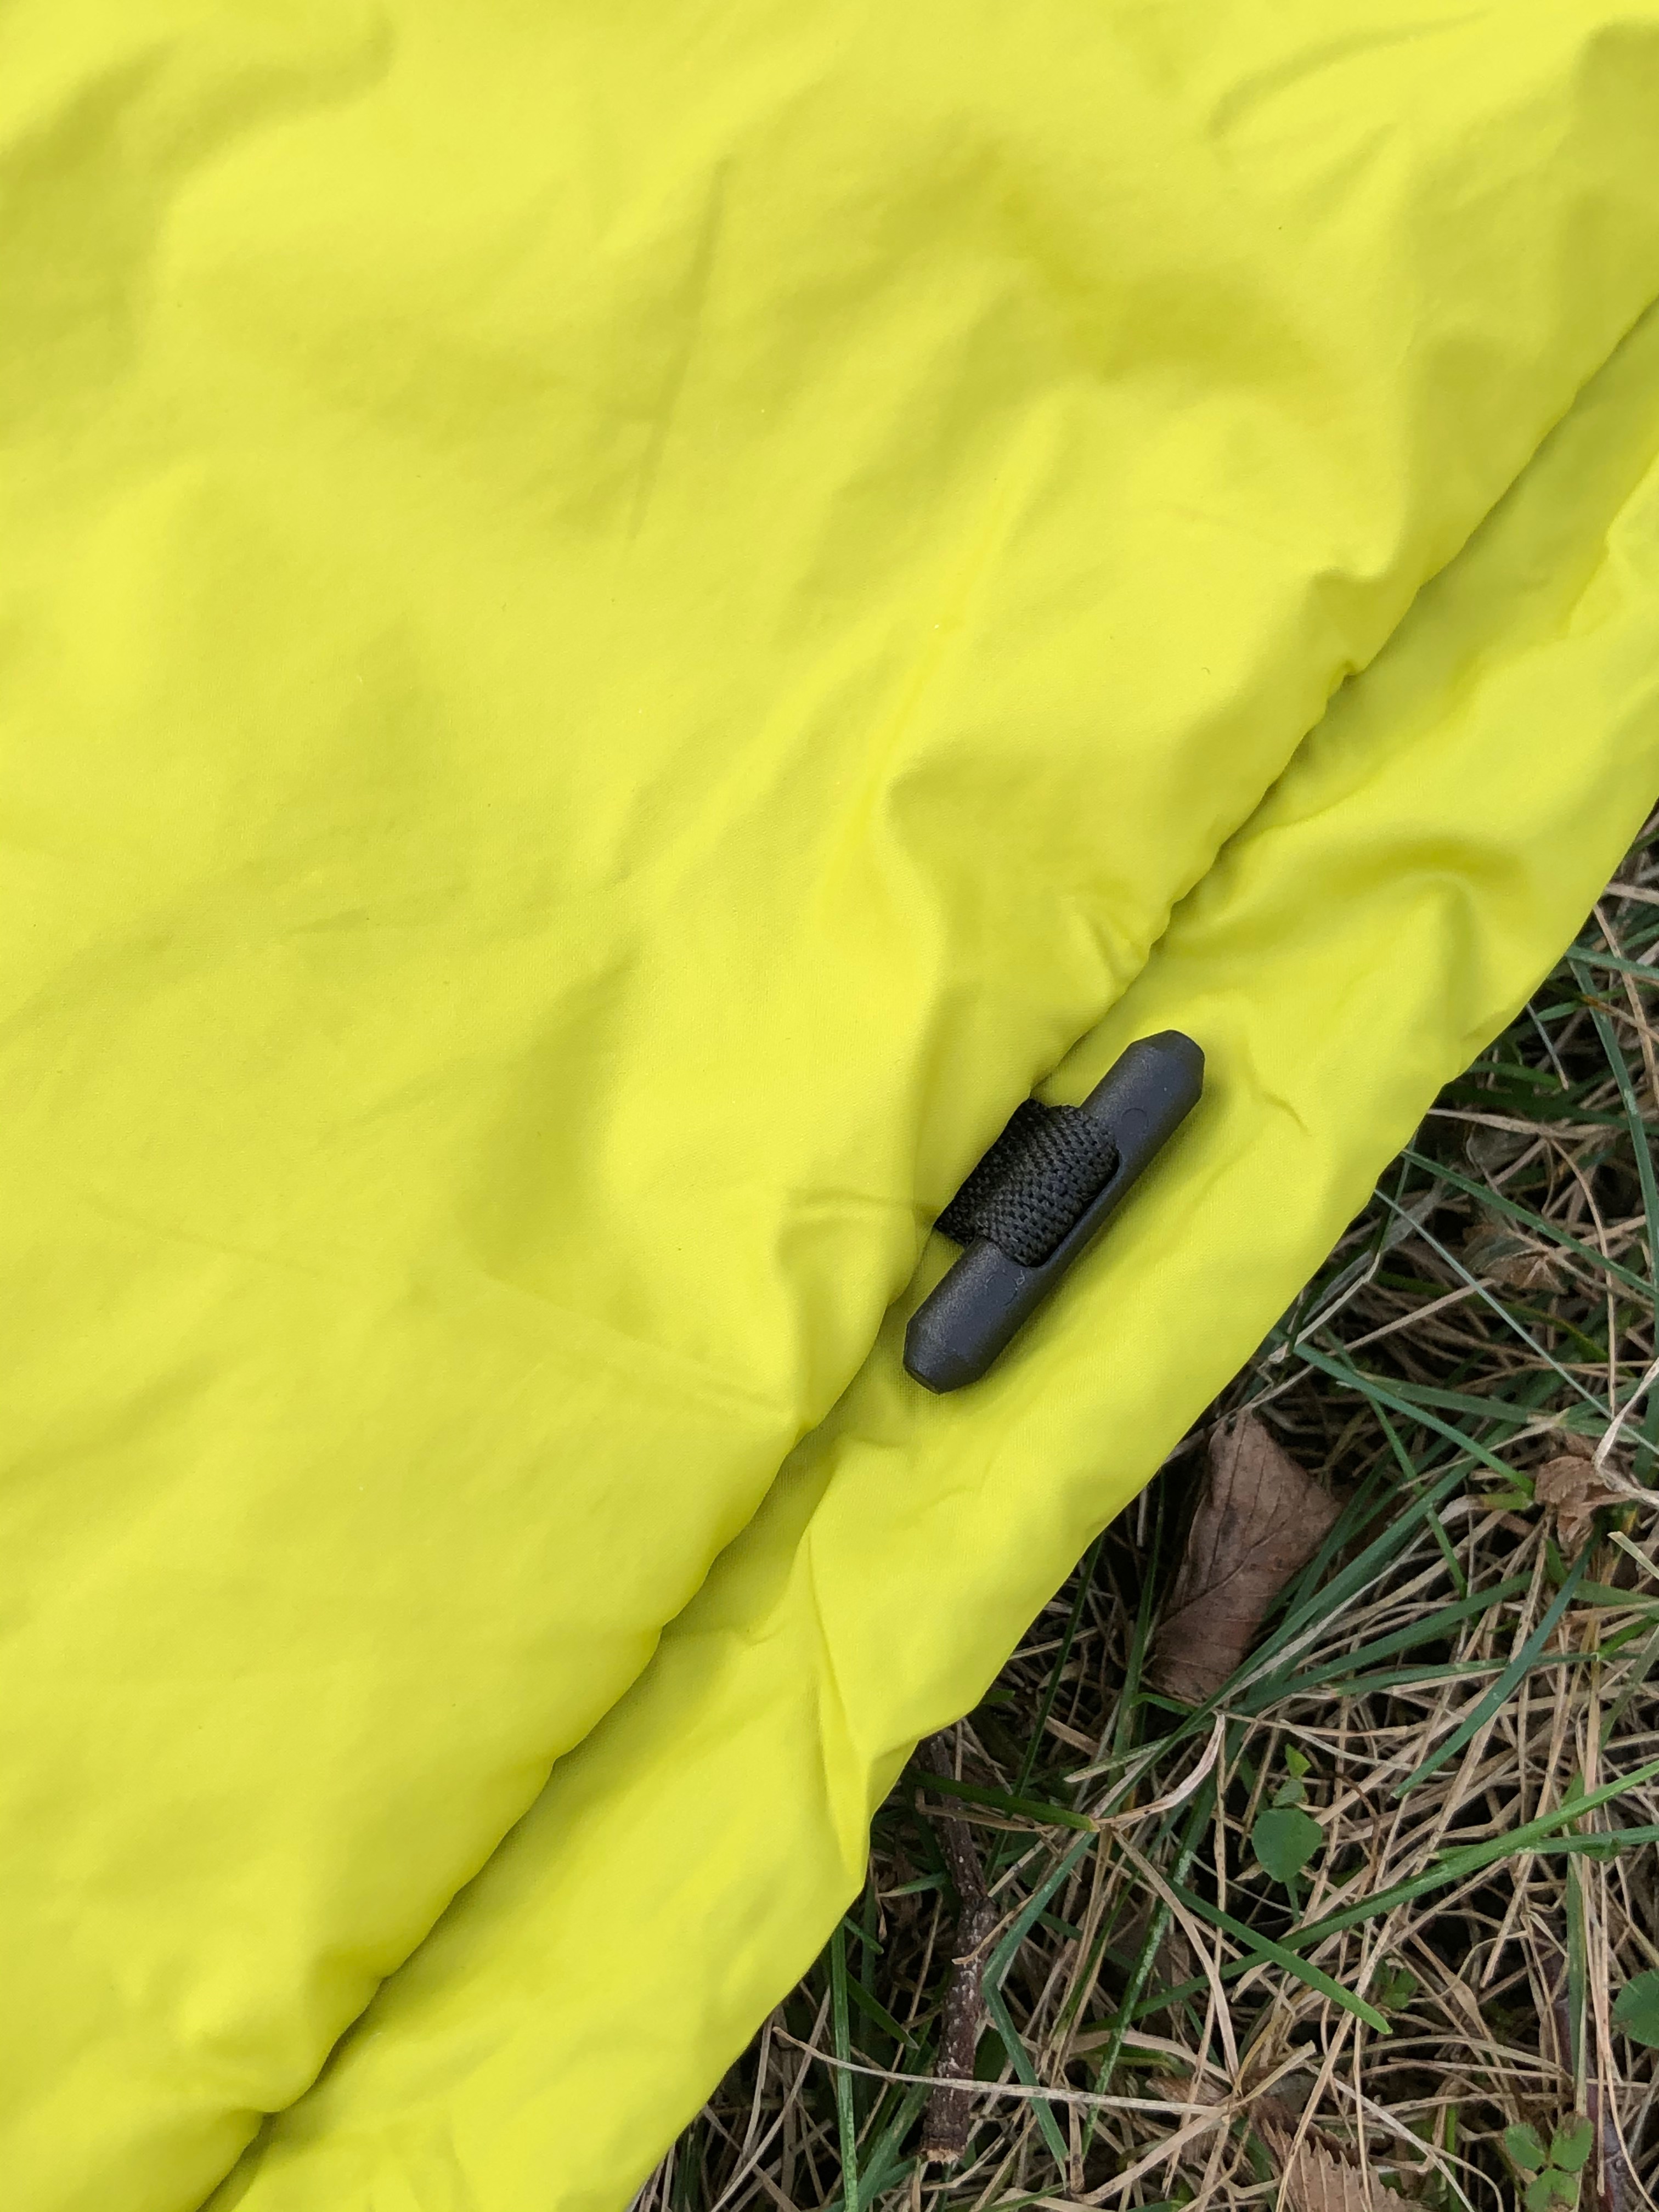
ENO has several tarp options which provide the same effect as a rainfly. Personally, the ProFly™ Rain Tarp has done the job well for me. I’ve weathered some pretty windy, rainy weather with no issues of getting wet. Other options offer a bit more coverage and even a bit more privacy with “doors” on the end of the tarp which mimic the vestibule of a tent. I’ll admit I’m curious about the HouseFly™ Rain Tarp, but not quite enough to buy it. Yet.
The tarp sets up with six anchor points – two which attach around the tree (I attach around my strap instead) and four points to the ground. When I received mine, the ridge line was suspended by two narrow reflective cords on either end. The cords provided were long enough to wrap around a tree. While I appreciated the light weight, tying the thin cord around the tree went against my desire to do everything possible to prevent girdling of any tree I use. Fast forward to just over a year ago when I discovered ENO had updated the system adding a no-knot-needed S-hook. I contacted their customer service and was able to get a couple of the S-hooks to upgrade my tarp. Doing so allowed me to use the Atlas strap as the connecting point for both my tarp and bug net without wrapping the cord around the tree. It’s important to note the tensioning of the bug net and tarp can be impacted by the weight in the hammock and this is not the recommended way to set the tarp, but I’ve found it works out and haven’t had any issues.
As far as staying dry, I have yet to get wet which might seem impossible compared with a tent. Set up properly, the rainfly has offered me shelter in some pretty wet conditions, even with a driving rain and stronger winds. On sunny days, I put my trekking poles into the slots on the corners of the fly and quickly have a sun shade where I can sit and relax.
TECH SPECS:
Brand: ENO (Eagles Nest Outfitters)
Model: ProFly™ Rain Tarp
Retailer Where Purchased: Amazon
Specs:
Weight: 1 pound, 6 ounces
Dimensions: 10’6”x 6’4”
Warrantee: Two years from date of purchase for manufacturing defects through ENO.

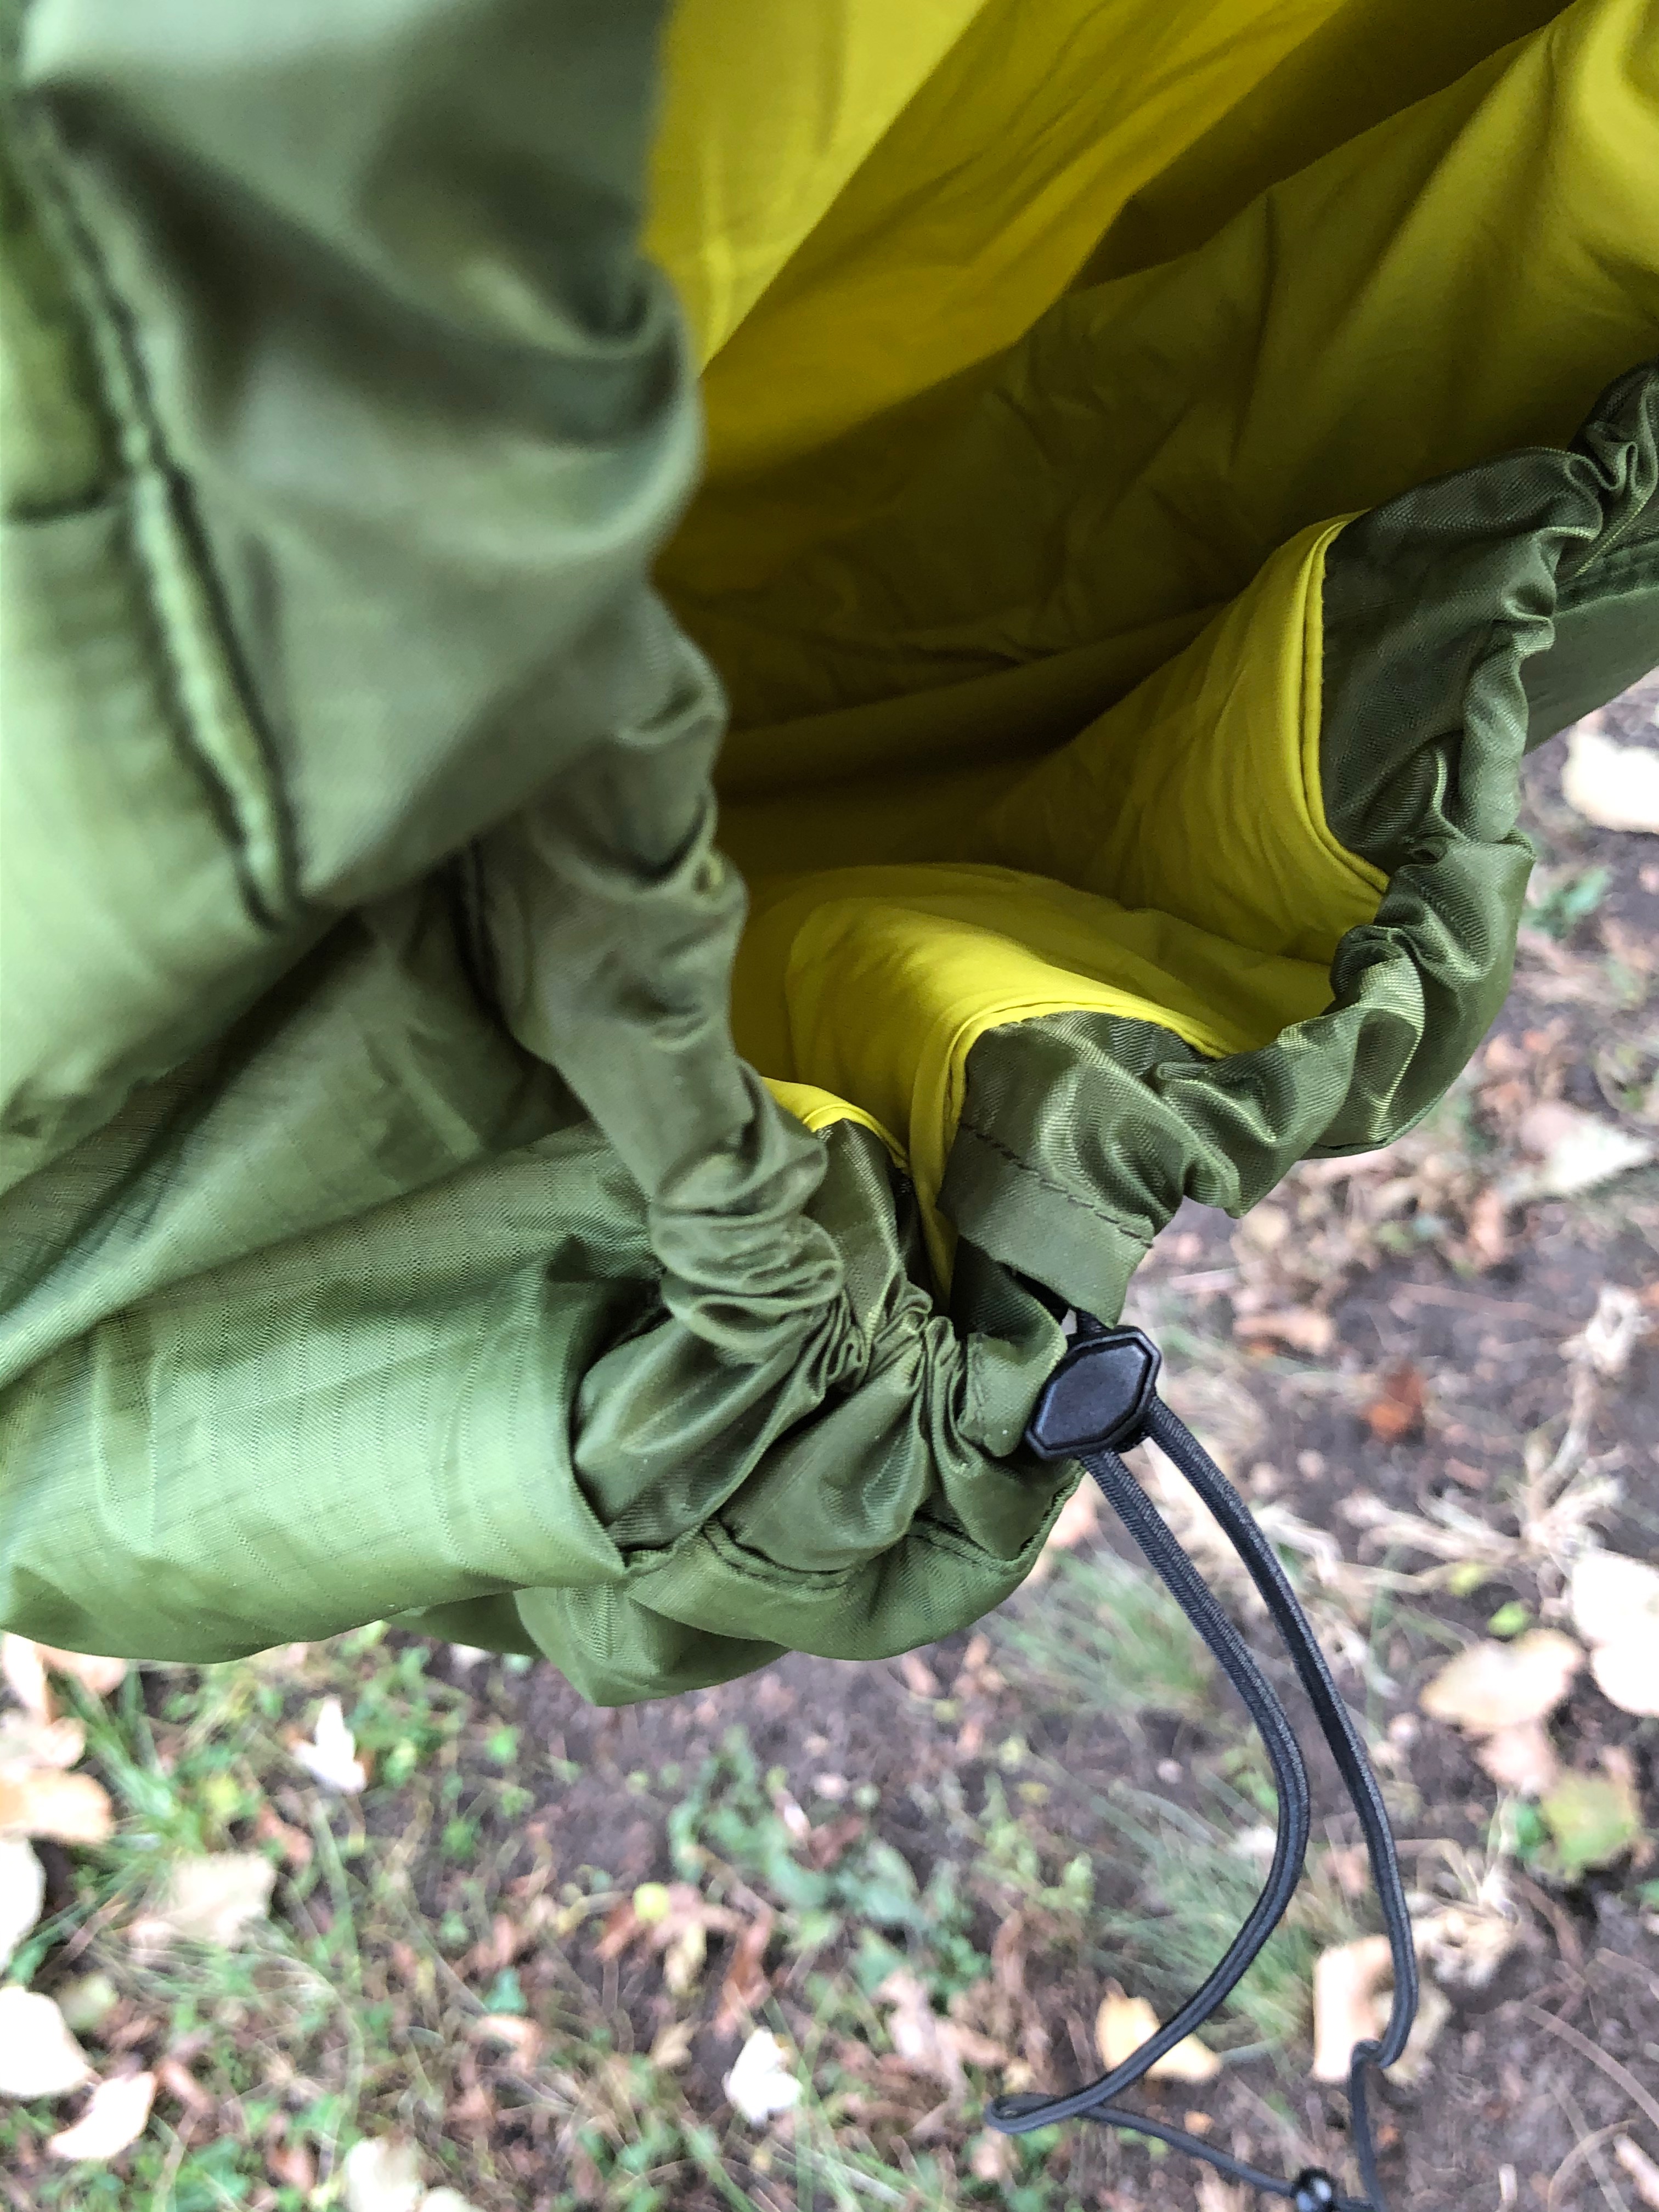
GUARDIAN™ BUG NET
With my first hammock I received a Guardian™ SL Bug Net. It’s a simple, barebones net with a cinch on either end of the net to close it off from those pesky bugs. What I determined was it was a really inconvenient way of closing the net for me. I had to shimmy up as far as I could to the end where I was closing to get the cinch. No matter how I tried I always ended up with an opening just big enough for the bugs to get in which defeated the purpose of the net.
A few years ago I happened to see an article about a net with a zipper in the middle. That’s when I discovered the Guardian™ Bug Net and can’t imagine going back. The side zipper opens in two directions allowing full access to the center of the hammock. It’s also more generous in size so I don’t feel quite so claustrophobic when I’m zipped in. The externally supported ridgeline offers nice headroom so I can sit up in the hammock without bumping my head at the top and sets the height of my tarp nicely as well.
It’s fun to listen to the bugs buzz outside the net, especially the mosquitos. They love me. The fact that I’ve got protection is amazing. That said, I learned on a recent trip to try and not sleep with my knee pressed against the netting. Those darned mosquitos had a great meal while I slept oblivious to the fact they could bite me.
TECH SPECS:
Brand: ENO (Eagles Nest Outfitters)
Model: Guardian™ Bug Net
Retailer Where Purchased: REI
Specs:
Weight: 1 pound, 3 ounces
Unfolded Dimensions: 82″ x 48″
Folded Dimensions: 23.75″ x 12″
Warrantee: Two years from date of purchase for manufacturing defects through ENO.

EMBER™ UNDERQUILT
Insulation is something many folks learn about when selecting gear for camping and backpacking. When I first camped as a kid I don’t remember having any kind of insulation between me and the ground other than my sleeping bag. When I first got my hammock I quickly understood I’d need something between me and the hammock itself if I wanted to sleep comfortably even when it’s hot. The thin fabric of the hammock doesn’t offer any insulating capability at all. In fact, it does a great job pulling warmth away from your body especially when there is any kind of breeze.
As I looked to camp in cooler weather I tried all kinds of different things – an emergency blanket, my inflatable sleeping pad and even blankets – to stay warm. I liked using my sleeping pad for the insulation and structure it gives the hammock. The down side is it slides all over the inside of my hammock. Not fun when you’re trying to get a good night sleep.
About a year ago I decided to try an underquilt which is what most folks end up adding to their hammock camping kit eventually. Whether purchased or homemade, it hangs below the hammock creating a pocket of warm air to help insulate. ENO offers three options which offer insulation from 30-60°F. I chose the Ember™ UnderQuilt with the intent of it taking me well into the fall for my camping adventures.
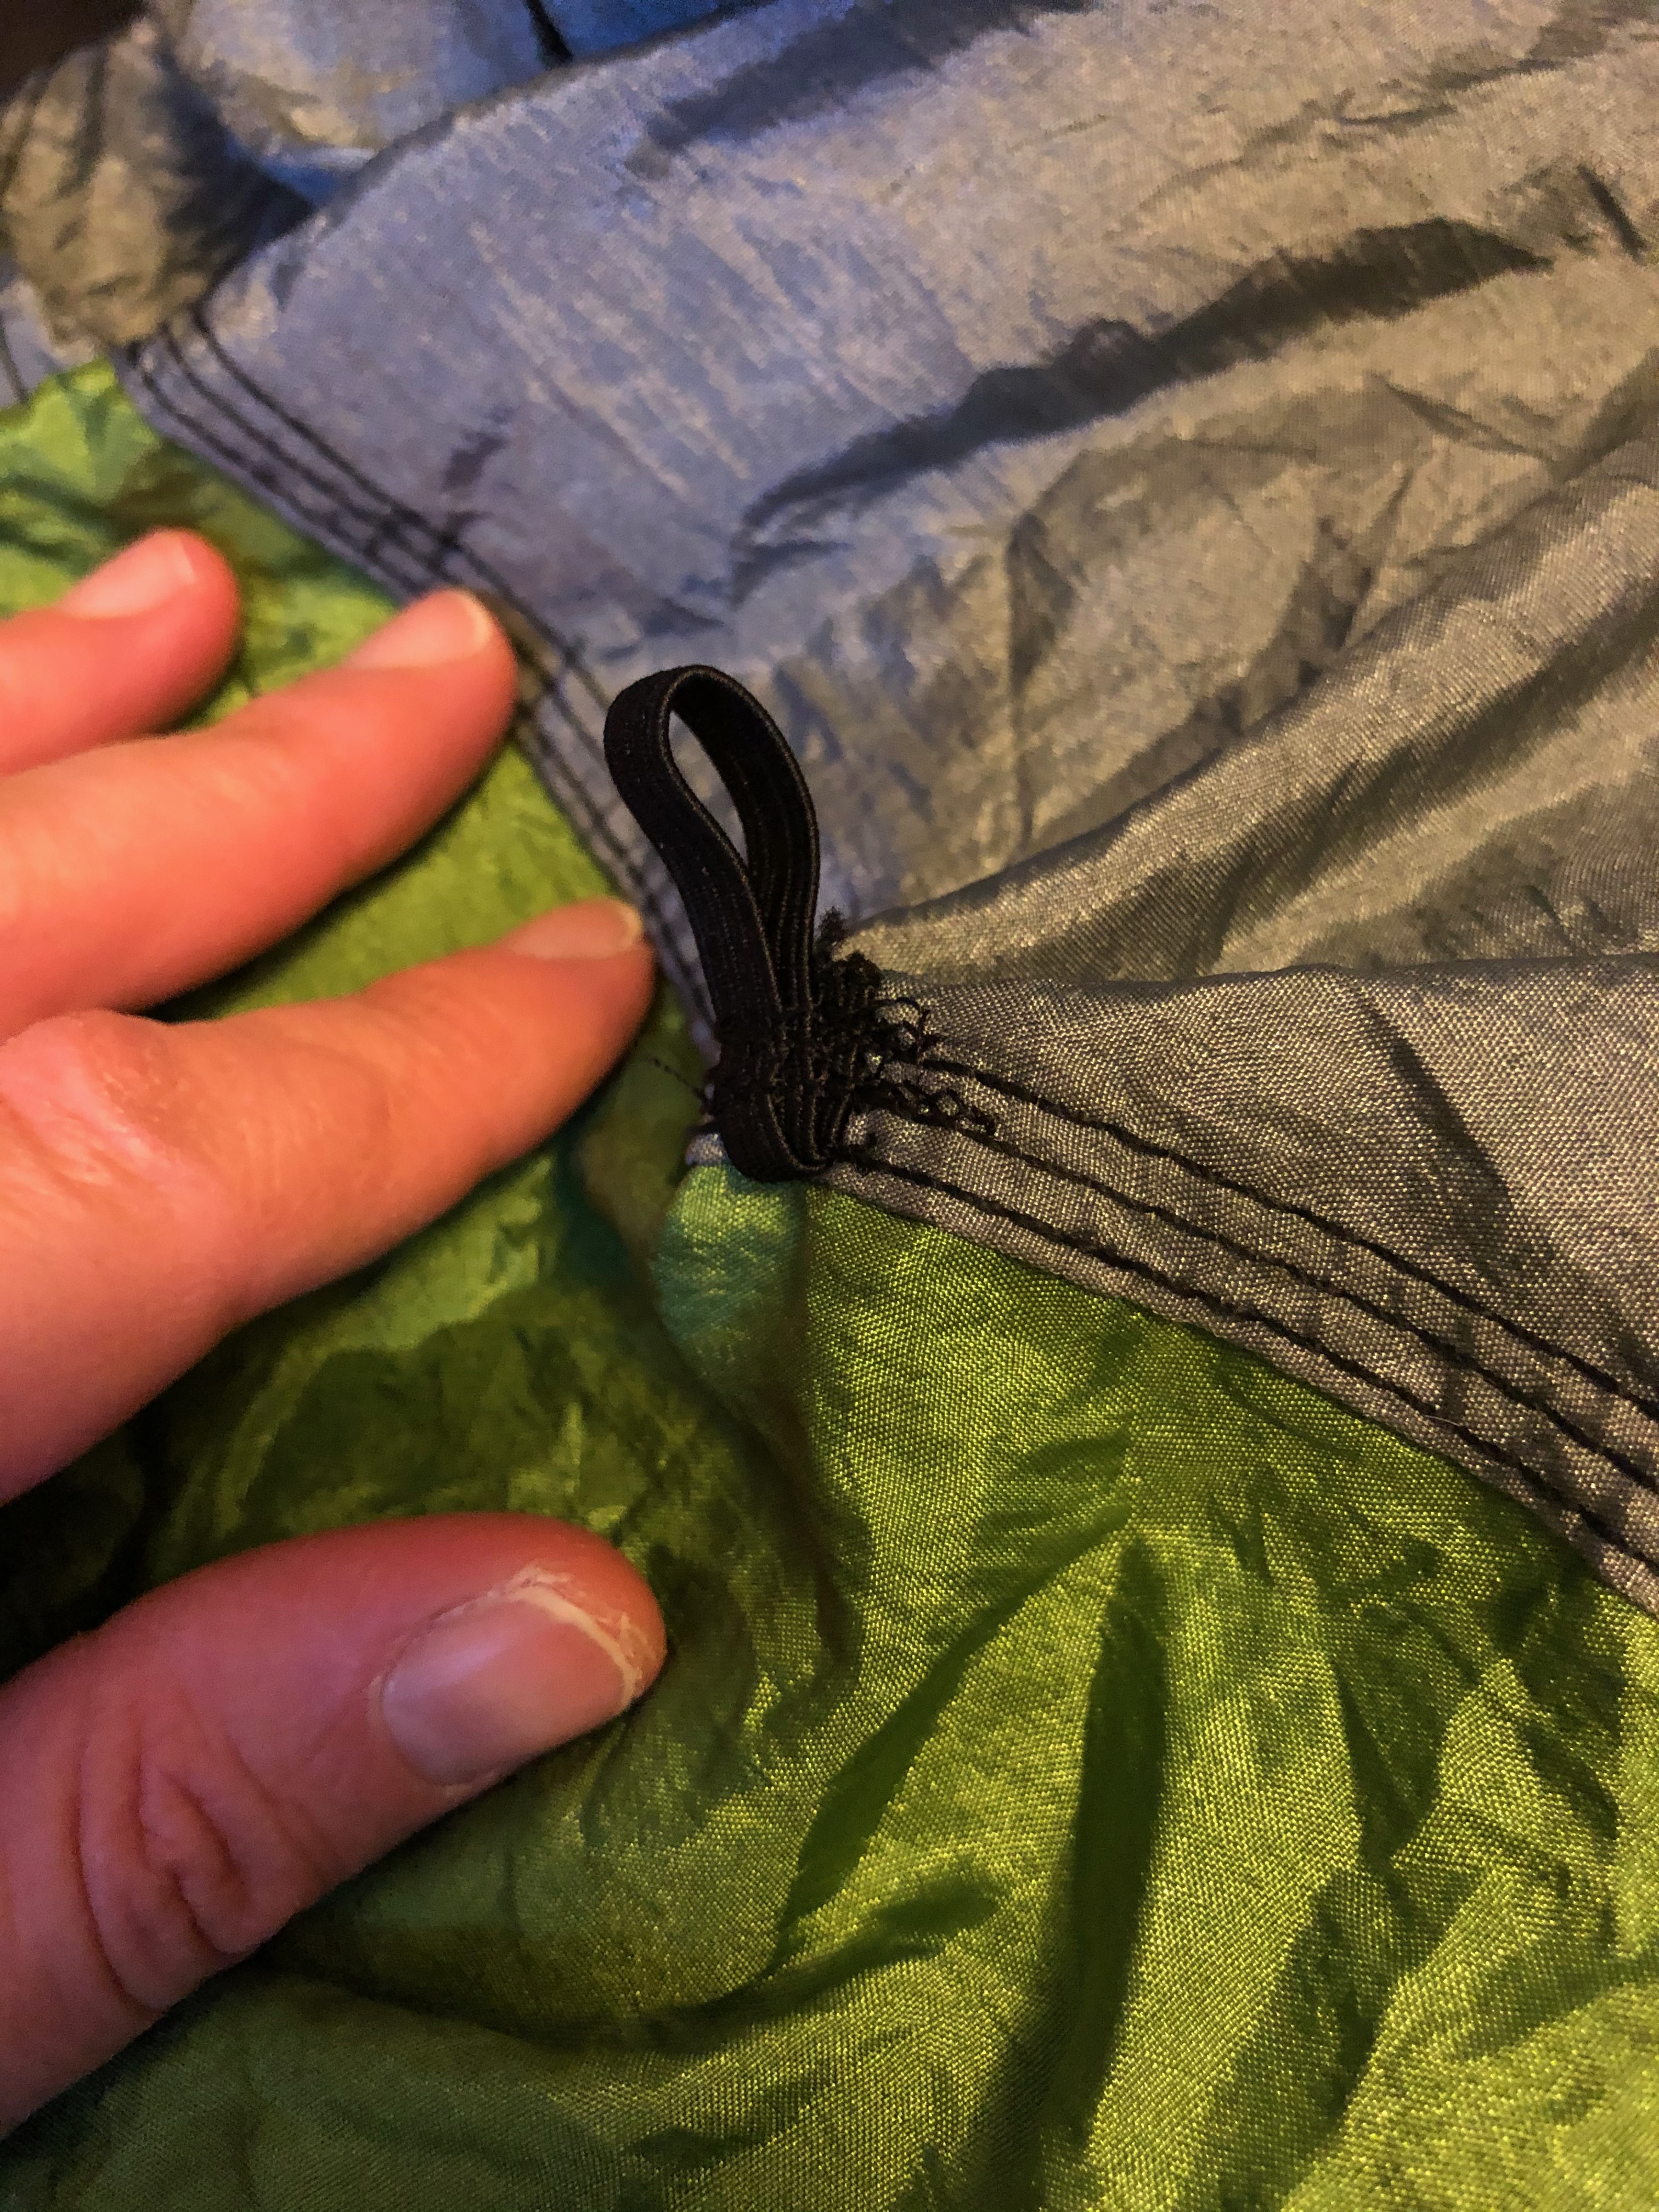
The synthetic underquilt attaches to the hammock with two toggles on the sides and through the hammock carabiner or toggle (depending on which hammock model you have). My hammock didn’t have receptors for the side toggles so I added loops of elastic to each side of the hammock easily myself. The ends can be cinched tight to increase the insulation capacity or loosened for a bit of temperature control.
My first few runs with the underquilt addition have been in warmer weather so I’m looking forward to taking it on a few fall campouts to see just how cold I can go before I feel like I’d need anything providing more insulation. So far I’m really happy with the addition of this piece of the system. It provided just enough barrier so I could sleep comfortably with a strong breeze taking the nighttime temperature down near 50°F, the mid-range of it’s temperature rating.
TECH SPECS:
Model: Ember™ Underquilt
Retailer Where Purchased: ENO (Eagles Nest Outfitters)
Specs:
Weight: 1 pounds, 11 ounces
Unfolded Dimensions: 82″ x 48″
Folded Dimensions: 23.75″ x 12″
Warrantee: Two years from date of purchase for manufacturing defects through ENO.
WHAT I LOVE:
The system is so very easy to set up and take down. From pulling it out of my pack to having it ready to sleep is about 15 minutes. It takes me just a few minutes less to take the whole thing down. I’m impressed by the quality of the materials. After several years of use from car camping to backcountry trekking, I haven’t had an issue. I feel like I could sleep through just about any condition and love that if my campsite got flooded I’d still be fine in most locations.
Being able to break the system down into smaller components is an added bonus. I can chose to only take what I need or to be prepared for any eventuality. It also makes packing it up, whether as individual pieces or stuffed in around the other gear in my pack.
WHAT I’M NOT A FAN OF:
The overall weight is my only issue. I had hoped by using a hammock system I’d be saving a bit of weight over my tent. That hasn’t been my experience. With all the components my system weighs in at six (6) pounds total making it equivalent to my recently purchased backpacking tent. I could swap out the straps for a bit of weight savings and go back to the lighter bug net, but I’ve decided I’m ok with the overall weight.
I’d also love for the underquilt to be a bit more compressible. I could have opted for the Blaze™ UnderQuilt which, as a down filled option, might provide a bit more packability. Its an option I may explore in the future.
WHAT ELSE?
Recently a friend told me about a product called SnakeSkins made by the Hennessy Hammock company. The premise is that you can leave your entire system clipped together and just slide the “skin” over the components. It creates a long “snake” that can be shoved into the open spaces, around other gear in your pack, making the most efficient use of space. Its also great for setting up in rain. Put up your rainfly and then quickly pull out the hammock, clip it in and it’s ready for a good night sleep. Takedown is simplified as well by just reversing the process.
Being the frugal sort I am I managed to recently get my hands on an ENO Hammock which had a tear making it unusable. I took it apart, sewed up a sleeve. Presto a homemade “skin”! I think this would be a fantastic addition to the ENO line-up. It could also offer an opportunity for a donation or buy-back program to use damaged hammocks to create new, smaller accessories. Maybe ENO will want to chat on the design. Who knows?
Do you hammock camp? I’d love to hear about your adventures. Leave me a comment here or on any of my social media channels!

Happy Hanging!
Next Post Preview: I take a hike with a group of Women Who Hike Minnesota members as part of Hike United 2021.

Support the work of
Ruth’s Blue Marble
If you like what you’ve found here, please take a minute and share with someone you think will enjoy it too. Your shares help me know what content is valuable and help support the organizations and companies I mention or link to in my posts.
Make A Donation
Make a one-time donation to support the Ruth’s Blue Marble blog.
Make a monthly donation to support the Ruth’s Blue Marble blog.
Make a yearly donation to support the Ruth’s Blue Marble blog.
Choose an amount ($5 – a virtual coffee; $15 – a virtual lunch; $25 – just because)
Or enter a custom amount that feels right to you.
Your contribution to bring this content to life is appreciated.
Your contribution to bring this content to life is appreciated.
Your contribution to bring this content to life is appreciated.
Copyright Ruth Wikoff-Jones, ruthsbluemarble.com | No Use Permitted Without Prior Permission